The best budget 3D printer in Australia is the one that reaches a finished object without teaching you machine calibration first. Every printer here builds an object in layers from a digital model, and the difference between them is what the layers are made of and how much of the setup the machine does on its own. Speed, build volume and filament compatibility all follow from those two things.
These do not all make the same kind of object, and a specification list hides it. An FDM printer lays molten filament down in lines and is the type most people mean by 3D printing. A resin printer cures liquid photopolymer with light and resolves detail an FDM nozzle physically cannot form. An enclosed FDM printer traps its own chamber heat so engineering filaments do not warp, while a mini FDM printer gives up build volume to arrive assembled and ready to run.
Build volume is the constraint you meet first, and the largest envelope here measures 225 by 225 by 280 mm, or roughly 8.9 by 8.9 by 11 inches. The figures worth reading beside it are top speed, which reaches 600 mm/s on two of these, acceleration, and whether the bed levels itself without being asked.
Manual bed levelling disqualified more candidates here than cost did. Everything below calibrates its own bed, and each entry states how much of the assembly is already done when the box is opened, because that is the number that decides whether a first print happens on the first day.
Best Budget 3D Printer in Australia Compared
| Product | Link | Type | Best For | Key Spec |
|---|---|---|---|---|
| Bambu Lab A1 Mini | Check price | FDM, compact | First printer | 10,000 mm/s2 accel |
| FLASHFORGE Adventurer 5M | Check price | FDM, CoreXY | Print speed | 600 mm/s, 20,000 mm/s2 |
| Creality K1C | Check price | FDM, enclosed CoreXY | Carbon fibre filament | Enclosed, 45 dB mode |
| ELEGOO Neptune 3 Pro | Check price | FDM, direct drive | Larger prints | 225 x 225 x 280 mm |
| ELEGOO Mars 5 | Check price | Resin MSLA | Fine detail | 4K mono LCD, 143 x 90 x 105 mm |
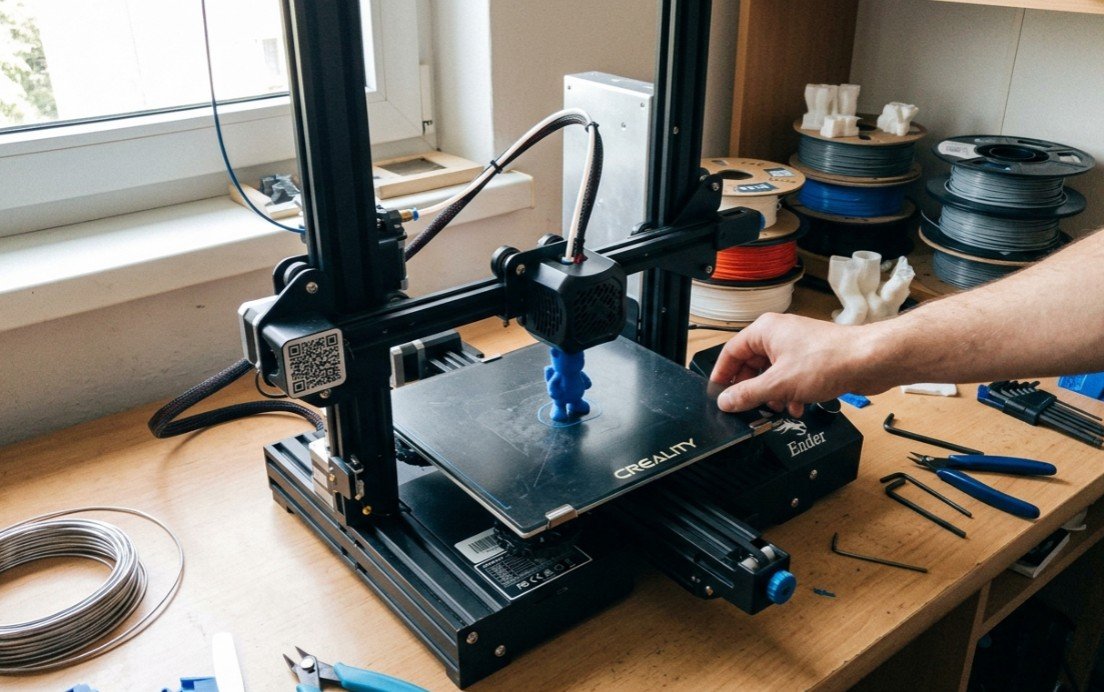
| Creality Ender 3 S1 | Check price | FDM, direct drive | Flexible filament | Sprite extruder, dual Z |
| Creality Ender 3 V2 NEO | Check price | FDM, Bowden | Learning and upgrades | 16-point CR-Touch |
| Entina Tina2S | Check price | FDM, mini | Children and small spaces | 0.04 mm, 200 mm/s |
1. Bambu Lab A1 Mini – Best for Beginners
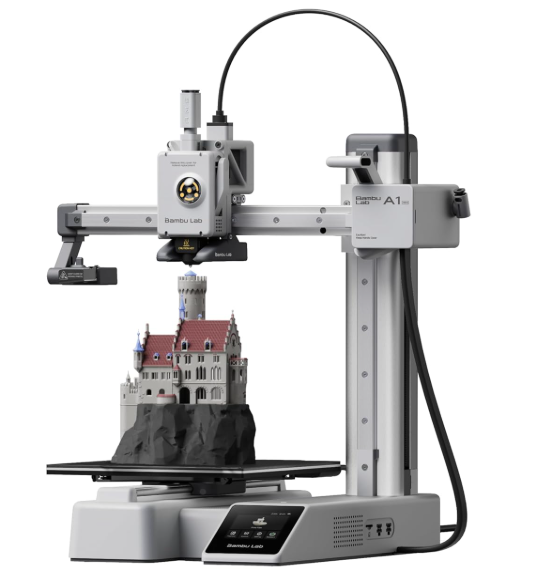
Setup is the part this printer is built around, and the maker puts first print at about twenty minutes from opening the box. It arrives pre-assembled with a touchscreen interface rather than a kit and a manual. Acceleration is quoted at 10,000 mm/s2.
Full automatic calibration is the feature that matters most to someone who has never printed before, because it removes the step where most first attempts fail. Active flow rate compensation adjusts extrusion as it goes, correcting the small inconsistencies that show up as ridges on a finished surface. The multi-colour system is a separate add-on rather than part of this machine.
Build volume is the price of that compactness, and anyone printing large single pieces will meet the limit quickly. What the machine gives up in size it returns in the number of failed prints that never happen. A first printer for a household rather than a workshop is exactly what this is.
Pros
- First print in roughly twenty minutes
- Full automatic calibration with no manual levelling
- Active flow rate compensation smooths surfaces
Cons
- Smallest build volume among the full-size machines here
- Multi-colour printing needs a separate add-on
Key specs: FDM, pre-assembled, full-auto calibration, 10,000 mm/s2 acceleration, active flow rate compensation, touchscreen, AMS lite compatible.
CHECK ON AMAZON2. FLASHFORGE Adventurer 5M – Best for Print Speed
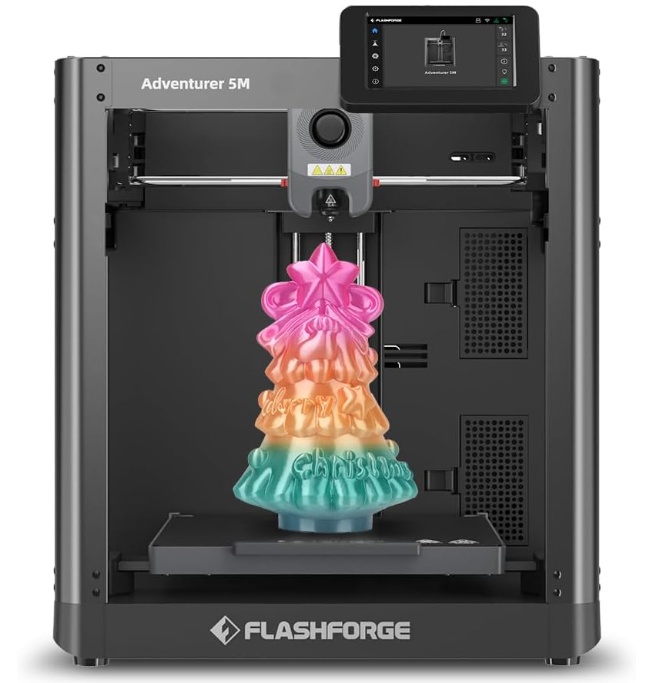
A CoreXY motion system is what allows the quoted 600 mm/s top speed, and the acceleration figure behind it is 20,000 mm/s2. The maker states the machine goes from rest to full speed in 0.025 seconds. Ten minutes is the claimed time from unboxing to printing.
Speed alone produces ghosting on vertical faces, which is why vibration compensation is the more useful half of the specification. The nozzle flows 32 mm3 per second with a 50 W heater that reaches 200 degrees in 35 seconds, so the machine is not waiting on the hot end between layers. A filament runout sensor and power loss recovery both resume an interrupted print rather than abandoning it.
The frame is open, so it needs a ventilated room and it will not hold chamber heat for engineering filaments. With a 0.4 mm nozzle it takes PLA, PETG and TPU, and a 0.6 mm nozzle adds the carbon-filled versions of the first two. Someone printing a lot of ordinary filament quickly will get more from this than from an enclosed machine.
Pros
- 600 mm/s top speed with 20,000 mm/s2 acceleration
- Vibration compensation removes ghosting
- Filament runout sensor and power loss recovery
Cons
- Open frame holds no chamber heat
- Needs a well-ventilated room
Key specs: FDM CoreXY, 600 mm/s maximum, 20,000 mm/s2 acceleration, 32 mm3/s flow, 50 W hot end to 200 C in 35 seconds, PEI steel plate, runout sensor, power loss recovery.
CHECK ON AMAZON3. Creality K1C – Best Enclosed Printer
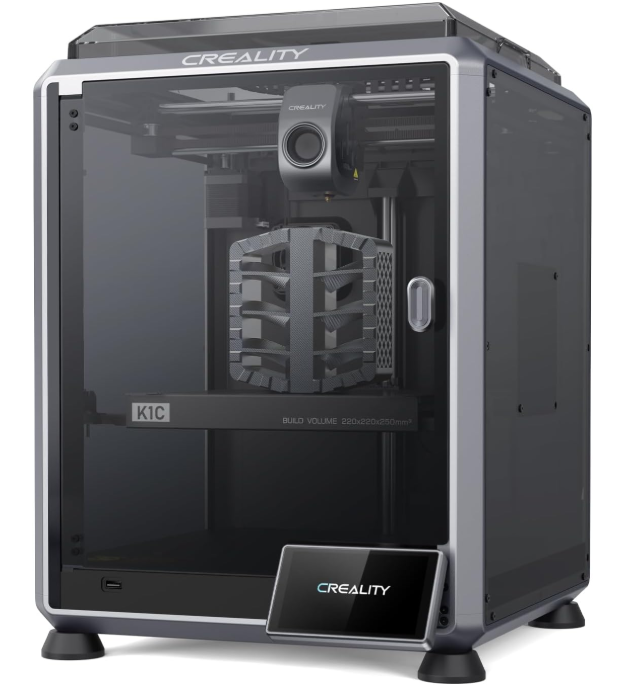
An enclosed chamber is the reason to choose this over the faster open machines, because trapped heat is what stops engineering filament warping as it cools. The motion system is CoreXY at 600 mm/s with 20,000 mm/s2 of acceleration. A hardened steel nozzle tip comes fitted rather than as an upgrade.
Carbon-filled filament is abrasive and destroys brass nozzles, which is what the tri-metal quick-swap nozzle and all-metal unibody extruder exist to survive; the maker quotes 1000 hours of clog-free extrusion. An AI camera watches the print, flags failures as they happen and shoots time-lapse footage. Silent mode drops noise to 45 dB or below, and an activated carbon filter handles the fumes an enclosed chamber concentrates.
It is the dearest machine in this guide and the enclosure is wasted on anyone printing only PLA. The camera and filter are the parts owners tend to cite as the difference in daily use rather than the speed figure. Anyone whose reason for buying is carbon fibre, ASA or a printer that can sit in a living room should start here.
Pros
- Enclosed chamber suits carbon fibre and ASA
- Hardened steel tri-metal quick-swap nozzle
- AI failure detection camera and carbon air filter
Cons
- Dearest machine in this guide
- Enclosure is wasted on PLA-only printing
Key specs: FDM enclosed CoreXY, 600 mm/s maximum, 20,000 mm/s2 acceleration, all-metal unibody extruder rated 1000 hours, tri-metal quick-swap hardened nozzle, AI camera, silent mode to 45 dB, activated carbon filter.
CHECK ON AMAZON4. ELEGOO Neptune 3 Pro – Best Build Volume
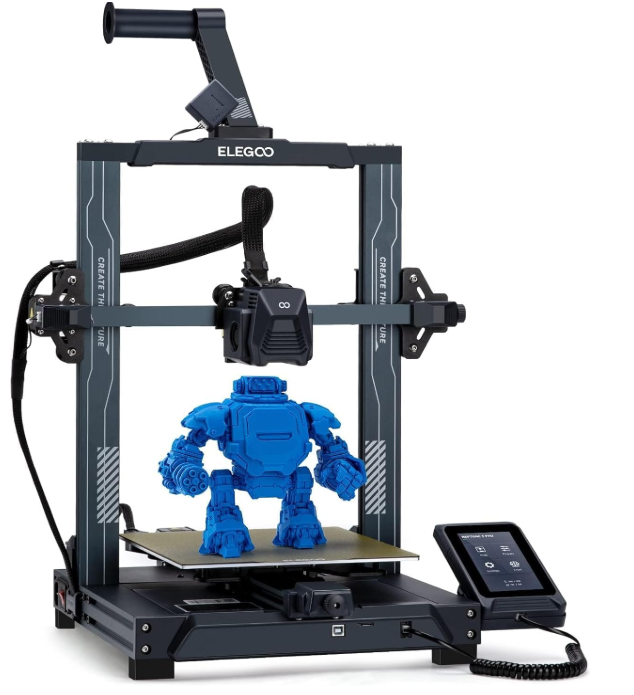
Build volume is where this one wins, at 225 by 225 by 280 mm, which is the largest envelope in this guide. A dual-gear direct drive extruder in SUS303 stainless steel runs a 3:1 reduction for more force at the filament than a Bowden setup delivers. The board is an STM32 driving silent stepper motors on every axis.
Automatic mesh levelling scans 36 points in a six by six grid with a non-contact sensor and compensates the Z height across the bed, which matters more as the bed gets larger and flatness gets harder to hold. Dual synchronised lead screws with two motors drive the Z axis, removing the tilt a single screw introduces over that height. A 4.3-inch screen handles control.
Direct drive adds mass to the moving head, so this is not the machine to compare against the CoreXY entries on speed. It is the one to compare on how large a single piece can leave the bed. Anyone whose prints keep being split into parts to fit will notice the extra height most.
Pros
- Largest build volume here at 225 x 225 x 280 mm
- Dual-gear direct drive in stainless steel
- 36-point non-contact mesh levelling and dual Z lead screws
Cons
- Direct drive head is heavier, so slower than the CoreXY machines
- Larger bed is harder to keep flat
Key specs: FDM direct drive, 225 x 225 x 280 mm build volume, SUS303 dual-gear extruder at 3:1, STM32 board with silent steppers, 36-point auto mesh levelling, dual synchronised Z lead screws, PEI magnetic plate, 4.3-inch screen.
CHECK ON AMAZON5. ELEGOO Mars 5 – Best Resin Printer
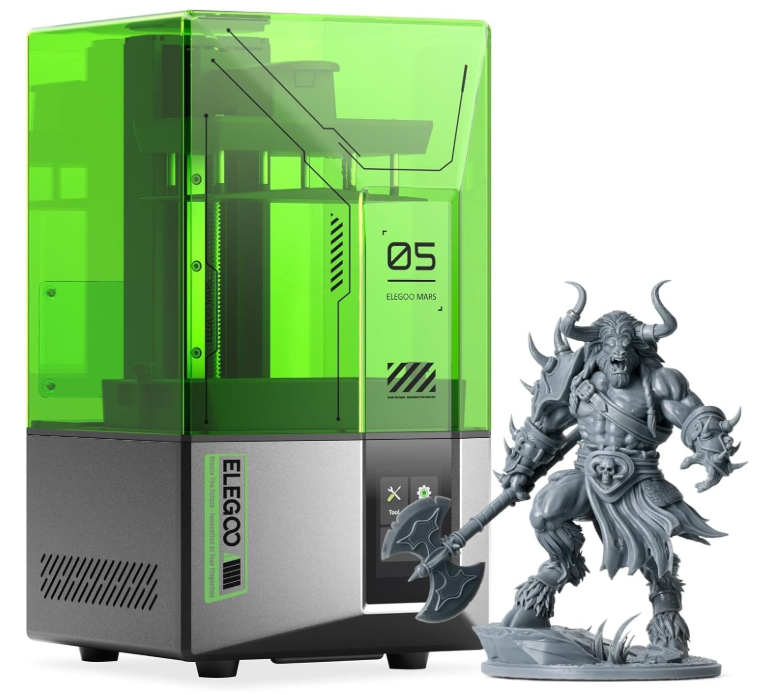
Resin is a different process rather than a cheaper one, and it is the only entry here that cures liquid photopolymer with light instead of laying down filament. A 4K mono LCD paired with a chip-on-board light source is what resolves the detail. Build area is 143.43 by 89.66 by 105.8 mm.
Detail is the whole argument: features that an FDM nozzle physically cannot form, such as the face on a tabletop miniature, come off this bed cleanly. One-click automatic levelling removes the fiddliest part of resin setup, and a mechanical sensor detects cured residue on the screen before it damages the LCD. Overheat protection halts the print and sounds an alarm if the LED passes 80 degrees.
The process is messier than filament in a way no specification communicates, since prints come off the plate wet and need washing in alcohol and curing under UV before handling. Consumables and gloves are part of ownership rather than an accessory. Miniature painters and jewellers should be looking here and nowhere else in this guide.
Pros
- 4K mono LCD resolves detail no FDM nozzle can
- One-click automatic levelling
- Residue sensor protects the screen and overheat cut-off at 80 C
Cons
- Prints need washing in alcohol and UV curing
- Messier and more consumable-hungry than filament
Key specs: Resin MSLA, 4K mono LCD with COB light source, 143.43 x 89.66 x 105.8 mm build, one-click auto levelling, resin residue sensor, overheat protection above 80 C.
CHECK ON AMAZON6. Creality Ender 3 S1 – Best Direct Drive
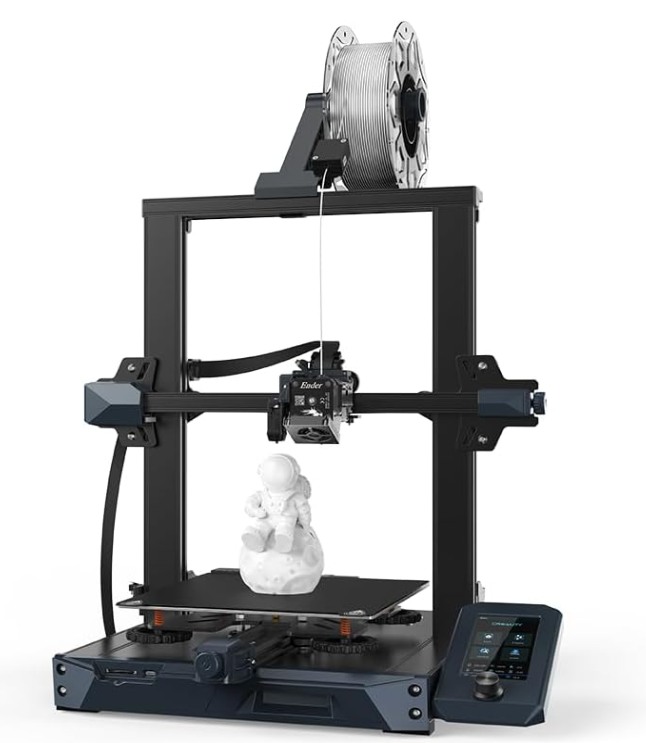
The Sprite direct dual-gear extruder is the part that defines this machine, mounting the drive gears directly above the nozzle rather than pushing filament down a tube. That geometry is what makes flexible filament practical, because TPU buckles in a long Bowden path. CR-Touch handles levelling automatically.
A high-precision dual Z axis keeps the gantry square over the full height, which is where single-screw designs drift. The print surface is removable PC spring steel that releases a finished part when flexed. A 32-bit board runs the motion quietly enough to sit in an occupied room.
Against the Ender 3 V2 NEO below, this is the same family with the extruder upgraded and the price to match, and the upgrade is only worth paying for if flexible filament is actually on the plan. Its build volume sits below the Neptune 3 Pro and its speed below the CoreXY pair. Anyone printing TPU phone cases or gaskets has a clear reason to pick it.
Pros
- Sprite direct dual-gear extruder handles TPU
- CR-Touch automatic levelling
- Dual Z axis holds the gantry square
Cons
- Only worth the premium over the V2 NEO for flexible filament
- Slower than the CoreXY machines here
Key specs: FDM direct drive, Sprite dual-gear extruder, CR-Touch auto levelling, dual Z axis, removable PC spring steel plate, 32-bit silent board.
CHECK ON AMAZON7. Creality Ender 3 V2 NEO – Best to Tinker With
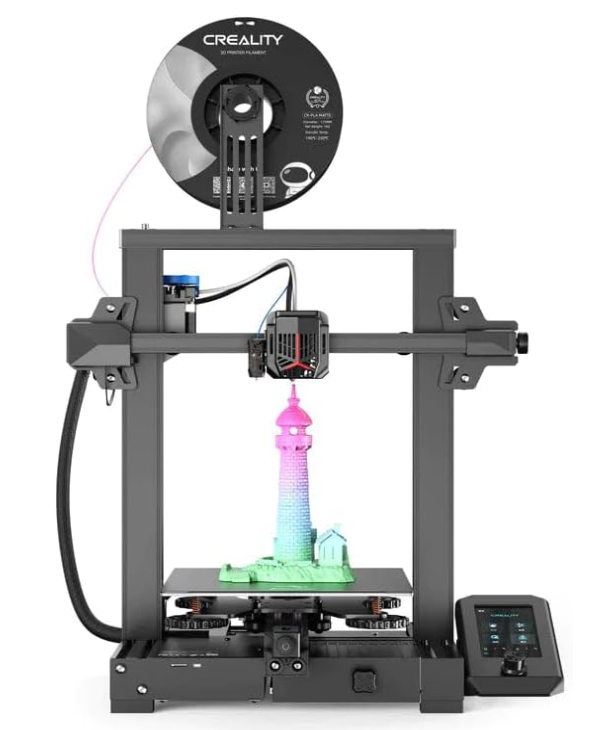
A full-metal integrated gantry gives this the stiffest frame of the cheaper machines here, and assembly comes down to three steps because most of it arrives built. CR-Touch runs a 16-point levelling check across the bed. The extruder is a full-metal Bowden design with a rotary knob for feeding filament by hand.
The Ender 3 line is the most documented printer family in the hobby, which is the practical reason to own one: almost any fault has already been solved in public by somebody else. A PC spring steel magnetic plate releases prints when bent. The interface adds a model preview so the machine shows what it is about to make.
Bowden feeding is the limitation, and flexible filament is the thing it does badly. Everything else about the machine is a known quantity with a large supply of printable upgrades behind it. Someone who wants the printer itself to be part of the hobby should start here rather than with a sealed appliance.
Pros
- Full-metal integrated gantry
- 16-point CR-Touch levelling
- Best-documented printer family for troubleshooting and upgrades
Cons
- Bowden extruder handles flexible filament poorly
- Bed is smaller than the Neptune 3 Pro and slower than the CoreXY pair
Key specs: FDM Bowden, full-metal integrated gantry, CR-Touch 16-point levelling, full-metal Bowden extruder with rotary feed knob, PC spring steel magnetic plate, three-step assembly.
CHECK ON AMAZON8. Entina Tina2S – Best Compact Printer
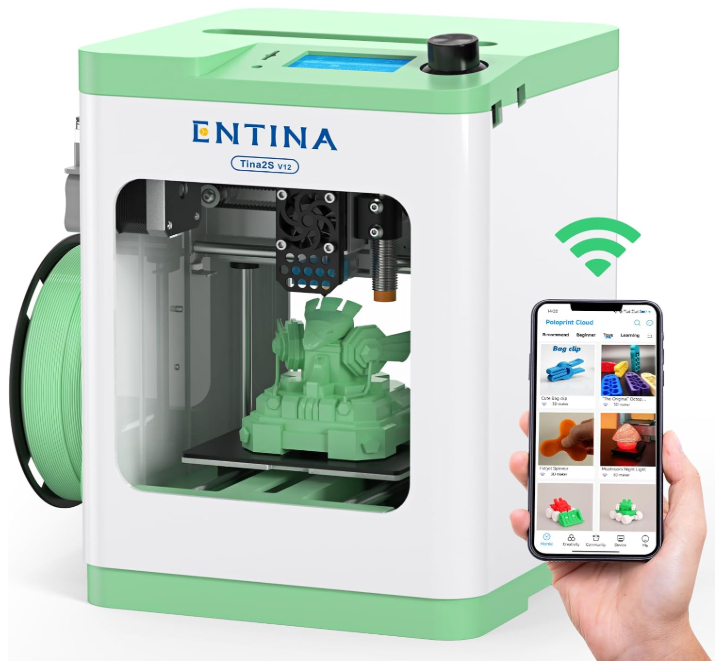
This is the smallest machine in the guide and the only one aimed squarely at children as well as adults. It arrives fully assembled with a TF card and an app, and needs no configuration to make its first print. Quoted precision is 0.04 mm with a combined print speed up to 200 mm/s.
Wi-Fi is the part that makes it usable by a child, since files go over the network through a cloud app with a model library attached rather than by carrying cards around. Automatic levelling removes the manual step entirely, and the heated bed uses a flexible removable spring steel sheet. A built-in LED lights the print area and the nozzle is quick-change to deal with clogs.
Build volume and speed both sit at the bottom of this list, and neither figure should surprise anyone at this size. What it offers instead is the shortest distance between a child asking and an object existing. As a second printer for a household that already has one, it makes very little sense.
Pros
- Fully assembled and ready out of the box
- Wi-Fi cloud printing with an app and model library
- Automatic levelling and quick-change nozzle
Cons
- Smallest build volume and lowest speed here
- Redundant if the household already owns a printer
Key specs: FDM mini, fully assembled, Wi-Fi cloud printing with app, 0.04 mm precision, up to 200 mm/s, auto levelling, heated removable spring steel bed, built-in LED, quick-change nozzle.
CHECK ON AMAZONHow to Choose a Budget 3D Printer
Measure the largest thing you actually intend to print. Build volume is the one limit no setting or upgrade can work around, and the envelopes here run from a mini bed to 225 by 225 by 280 mm. Splitting a model into parts and gluing them is possible but it shows. Decide the size first and let it eliminate machines.
Expect a printer to level its own bed. Manual levelling with a sheet of paper is how most abandoned printers were abandoned, and every machine in this guide automates it. The implementations differ, from a 16-point touch probe to a 36-point non-contact scan, and more points matter more as the bed gets larger.
Pick the technology from the object, not the price. Filament suits functional parts, brackets, enclosures and the replacement mounts and prop guards that owners of drones print rather than reorder. Resin suits miniatures, jewellery and detail at a scale a nozzle cannot form, and it brings washing in alcohol and curing under UV with it. Buying the wrong one of these two is the most expensive mistake available here.
Allow for an enclosure only if the filament needs it. PLA prints happily in open air, so an enclosed chamber is money spent on nothing unless carbon-filled or ASA filament is genuinely part of the plan. Where it is needed it is not optional, because those materials warp as they cool in a draught.
Watch the nozzle material if abrasive filament is likely. Carbon-filled filament grinds a brass nozzle away, and replacing it becomes routine rather than rare. A hardened steel nozzle fitted from the factory is worth more than a speed figure to anyone printing composites, and one machine here also rates its extruder for 1000 hours.
Count the community, not just the specification. A printer with a large owner base has already had its faults diagnosed in public, and printable upgrades exist for it. That is worth as much as a spec sheet on a first machine, and it is one reason the well-documented families remain a sensible entry point. Australian Consumer Law guarantees still apply where a printer will not perform as the listing describes, whichever model is chosen.
Frequently Asked Questions
What is the difference between FDM and resin 3D printing?
FDM melts a plastic filament and lays it in layers, which suits functional parts that need strength. Resin printing cures liquid photopolymer with light and captures much finer detail, which suits miniatures and jewellery. Resin also requires washing prints in alcohol and curing them under UV, so it is a messier process.
Do budget 3D printers need to be assembled?
Not any more. Every printer in this guide arrives either fully assembled or needing about three steps, and one quotes twenty minutes from box to first print. Kit printers that required full assembly and manual calibration have largely left this end of the market.
What does automatic bed levelling actually do?
It measures the height of the bed at multiple points and compensates in software so the first layer sticks evenly across the whole surface. Implementations here range from a 16-point touch probe to a 36-point non-contact scan. Without it, levelling is done by hand with a sheet of paper and is the most common reason beginners give up.
Can a budget 3D printer use carbon fibre filament?
One in this guide is built for it, with a hardened steel nozzle and an enclosed chamber. Carbon-filled filament is abrasive and will wear out a standard brass nozzle, and it warps if it cools too fast in open air. A printer without both features will struggle with it.
How fast do these printers actually print?
The two CoreXY machines here quote 600 mm/s with acceleration of 20,000 mm/s2, while the mini tops out around 200 mm/s. Real prints rarely sustain a maximum figure, because corners, small details and layer changes all force the head to slow. Acceleration usually affects total print time more than top speed does.
Is a 3D printer noisy enough to matter indoors?
Most are quieter than expected, and several here use silent stepper drivers. One quotes 45 dB or below in a dedicated silent mode, which is comparable to a quiet room. Resin printers are quieter again, though they need ventilation more than filament machines do.
Verdict
A printer that arrives assembled is worth more to a first-time owner than any figure on this page. The Bambu Lab A1 Mini reaches a first print in about twenty minutes and calibrates itself entirely, which is why it leads this guide. Anyone who already prints and wants speed should look at the FLASHFORGE Adventurer 5M and its 600 mm/s ceiling, while the Creality K1C is the one to choose if carbon fibre and an enclosed chamber are the reason for buying at all.